


Thank you for your willingness to create a night of inspiration and service that will bless people in your community and around the world.
This page contains all the resources you will need to facilitate a community screening of the Pathway to Hope documentary with BYU-Pathway Worldwide. The goal of this event is to help participants reflect on the value of education and connect them to meaningful service opportunities.

What’s Inside
- Step-by-step plan to host your own Pathway to Hope community event
- Event agenda and conducting notes
- Customizable flyers, brochures, and social media assets
- Downloadable video and service opportunity handouts for the event
- Technology instructions and event checklist
Please follow these five steps to plan and execute your event from beginning to end:
5-step Event Plan
Step 1: Plan Event Logistics — Date, Panelists, Speakers, and Agenda
About 6 weeks before the event:
- Save the date for your Pathway to Hope community event
- Select BYU-Pathway students in your area who can speak to how BYU-Pathway has helped them become better disciples of Jesus Christ who are leaders in their homes, the Church, and their communities — the mission of BYU-Pathway Worldwide. Invite these students to share the challenges they’ve faced, the lessons they’ve gained, and the impact pursuing an education is having on their lives.
- Choose a concluding guest speaker who can testify to the gospel principles of hope, service, education, and enduring to the end.
- Download and fill out the document "How to Host a Pathway to Hope Community Screening" for your event using the button below.
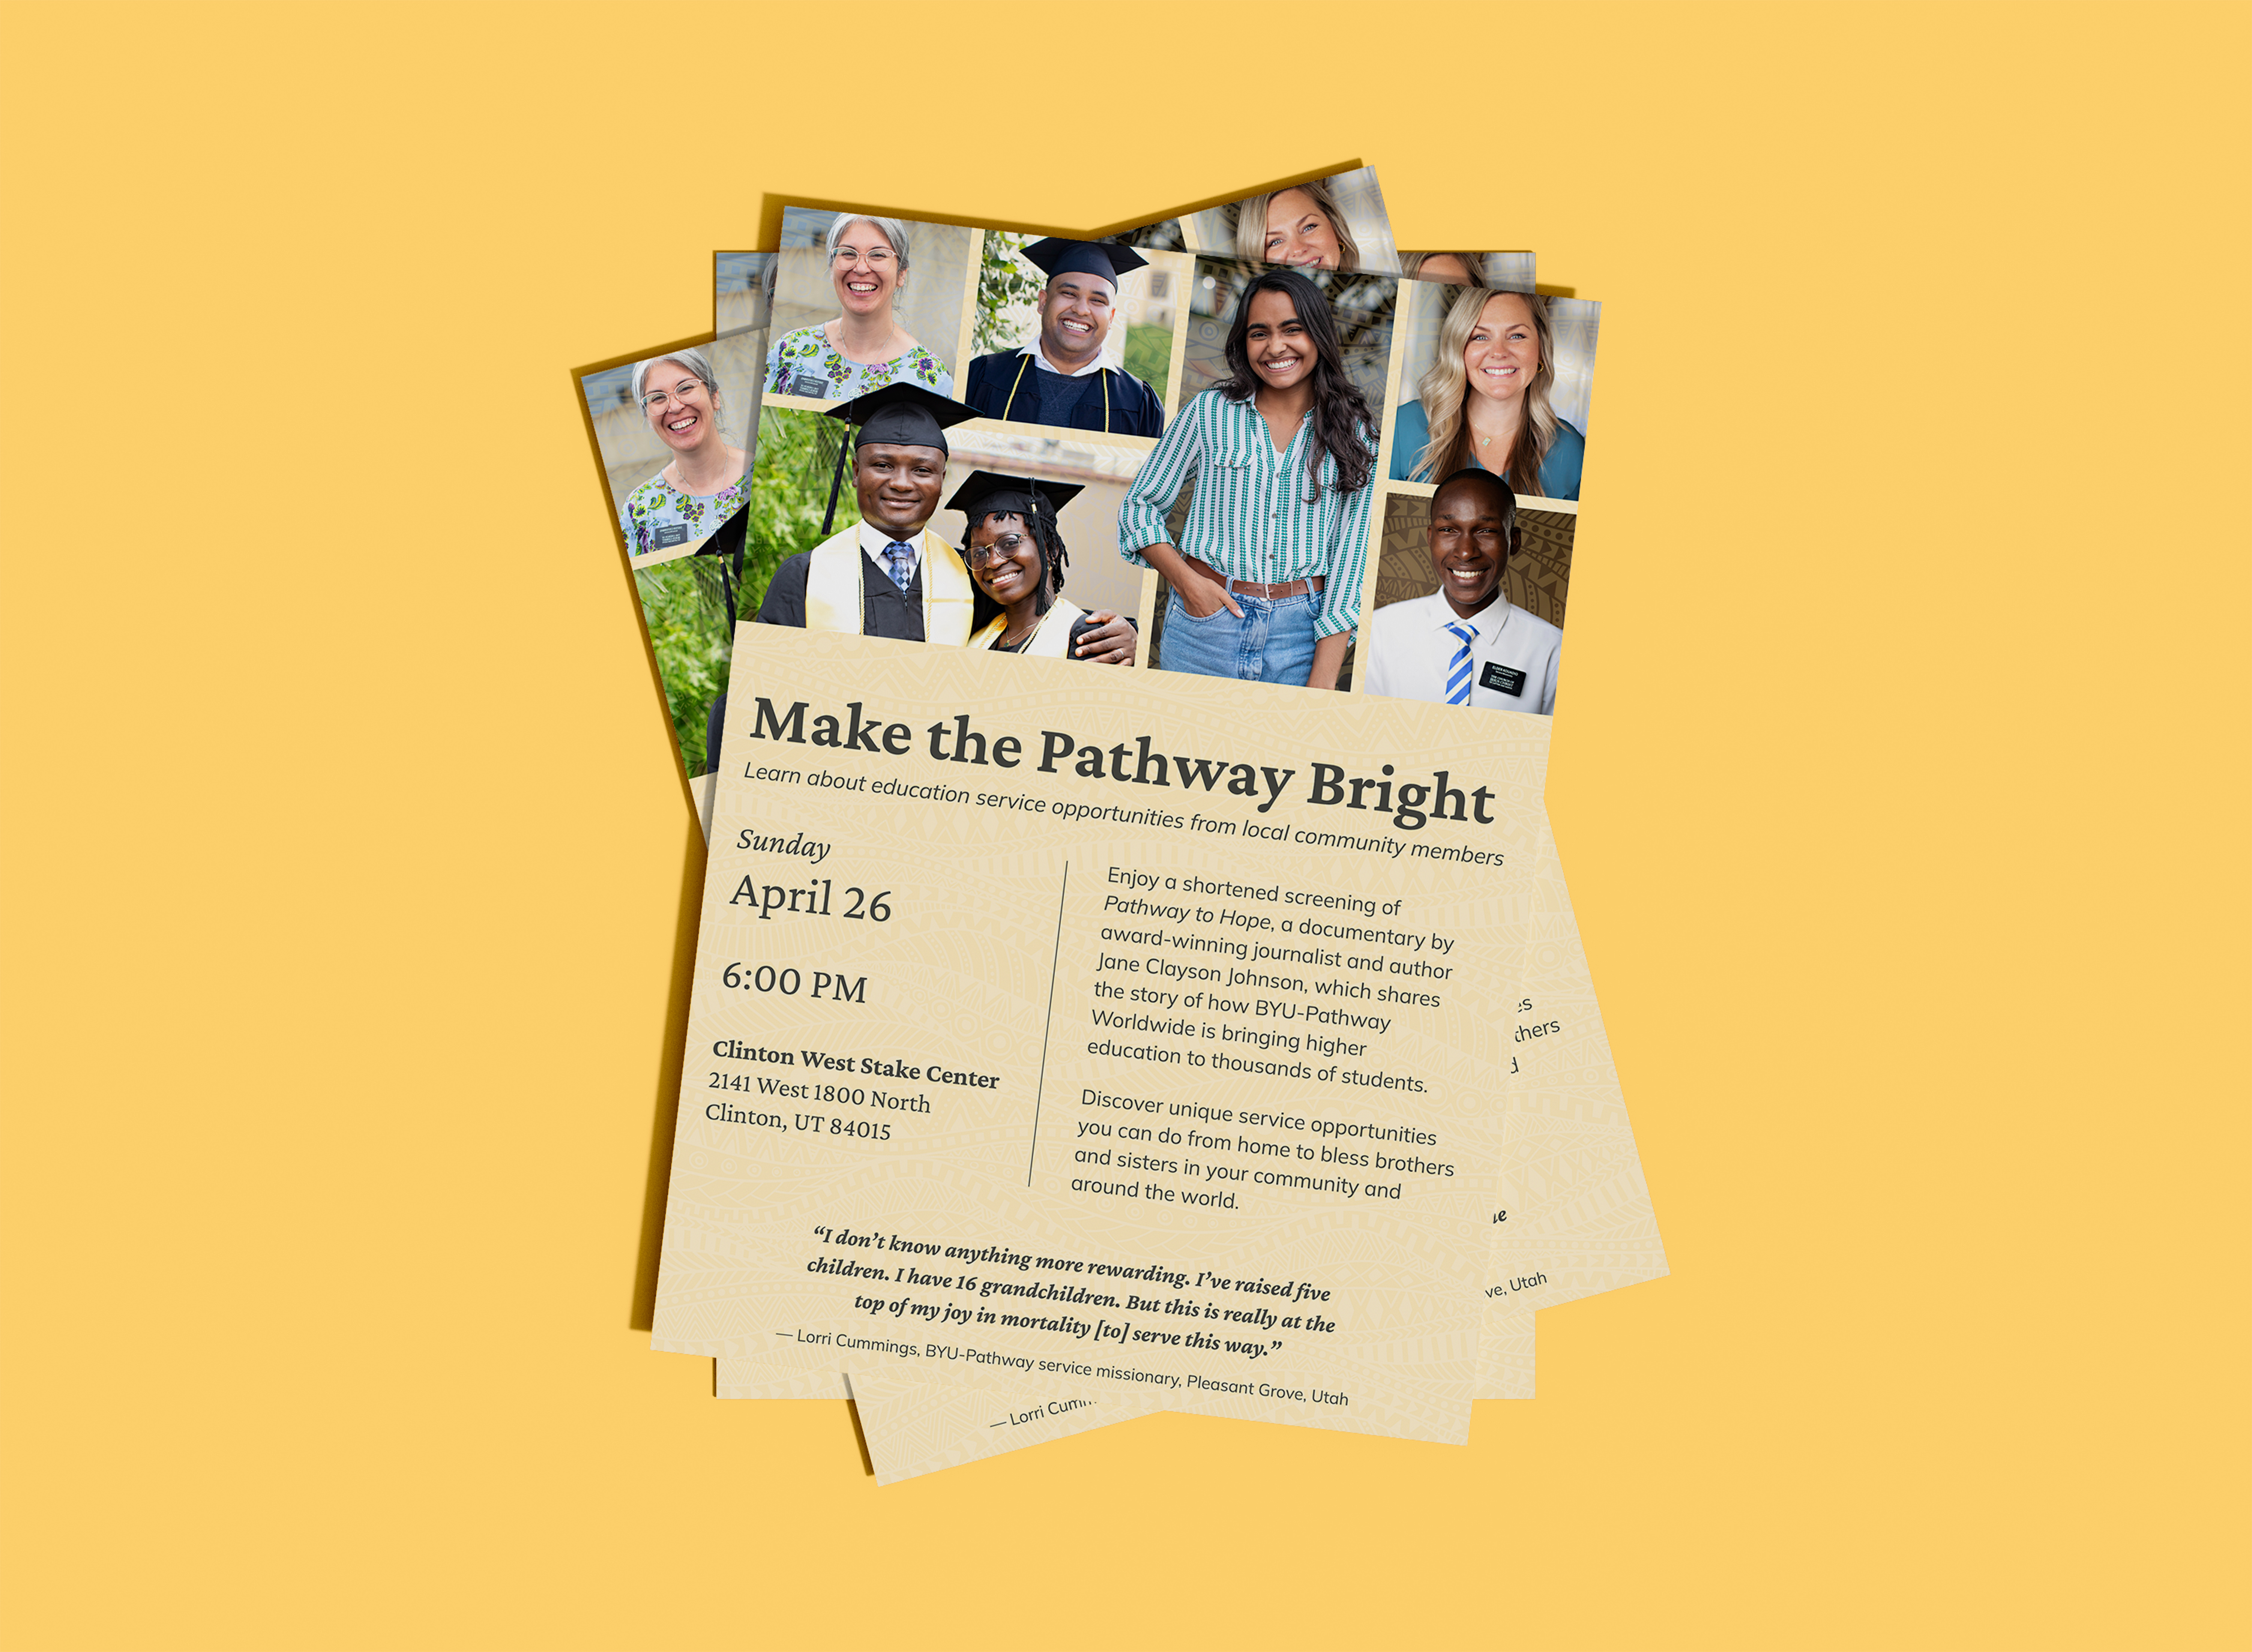
Step 2: Download Personalized Marketing Materials to Advertise Your Event — Flyer, Poster, Social Media Image
About 5 weeks before your event:
- Fill out your event details using this form.
- In about 2–4 business days, you'll receive the following BYU-Pathway branded marketing materials to promote your Pathway to Hope event in your ward and community:
- Flyer handout
- Event posters
- Social media banner image
- Social media caption
- Download these printing instructions to help guide you through the best way to get each item printed.
- Share this flyer with those in your ward and include it in your ward bulletin. Hang up the poster in your Church building and around your community.
- To post about your Pathway to Hope community event on social media:
i. Create a Facebook event.
ii. Upload your downloaded banner image as your event’s cover photo, and use the provided social media caption as your event description.
iii. Share the link to your Facebook event with your ward and event speakers/panelists.
iv. By creating a Facebook event, you can also invite guests directly within the Facebook event where you’ll be able to see the RSVP status of your audience and provide an easy way for people to spread the word.
Step 3: Download and Prepare Your Conducting Notes — Confirm Speakers and Panelists
About 3 weeks before the event:
- Download this conducting notes template to help you host your Pathway to Hope community event.
Download - Follow-up with the speakers and panelists you have chosen to remind them of the event and confirm that they are still able to participate. Encourage them to share about it on their social media profiles.
- Fill out the template with your event’s details and print it off to bring with you on the night of the event. Feel free to add what you’d like to this template.
Step 4: Download and Print Materials for Event — Pathway to Hope Video and Handout
About 1 week before the event:
- Download the version of Pathway to Hope that works best for your event:
- 22 minute, full subtitles
- 40 minutes, full subtitles
- Full 60-minute film: watch on BYUtv.org
- Next, use the button below to download and print off copies of the service handout to give to each member of the audience at your event. This handout is where people sign up to get involved in service opportunities, after feeling inspired from the event. The goal is to get as many people to sign up via the QR code on this handout.
- Service opportunities handout
Download
Step 5: Set Up the Event — Technology and Event Checklist
On the night of the event:
- Arrive early before the event to set everything up in your building.
- Your building specialist will have most, if not all, the necessary items on hand and can walk you through the setup particular to your building.
- Screen (many chapels have a screen that comes down from behind the rostrum with a switch)
- Projector (check with your building specialist)
- HDMI cable
- Dongle connectors for PC or Mac to HDMI
- XLR/AUX cables
- Extension cord and surge protector (for powering the projector and laptop to stream the film)
- On the night of the event, remember to bring:
- Conducting notes
- Service opportunities handout copies
- Downloaded Pathway to Hope video
About the Film
Video